Part II: Deploy F5 VNF Manager
To deploy F5 VNFM, do the following:
- Launch an instance in OpenStack
- Add a floating IP in OpenStack
- Access F5 VNFM UI
- Manage secrets
- Define parameters in the inputs.yaml file
Step 1: Launch an instance in OpenStack
PREREQUISITE: The following table lists the VNFM-required administrative OpenStack environment components and guidelines that must exist PRIOR to creating a VNFM instance in your OpenStack project. See previous step Review and Prepare UDF Blueprint for details.
- Once the following components exist in your environment, create and name a VNFM instance, and then define the following parameters, clicking Next to complete the wizard. (Click the following links to learn more about using the latest version of OpenStack, or refer to the documentation specific to the version of OpenStack you are using.)
| Component | Description |
|---|---|
| Source | Expand Select Boot Source, and choose Image, under Create New Volume, click No, and then click + next to the latest VNFM image file to move it to the Allocated list. 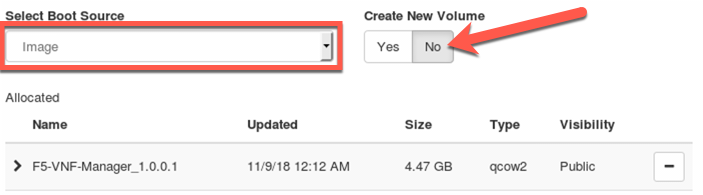
|
| Flavors | Select m1.medium flavor |
| Networks | Select + next to the following predefined network (and subnet), to add to the Allocated list:
|
| Security Groups | Ensure that default security group is selected |
| Key Pair | Ensure that existing jumphost.pem key pair is selected for accessing VNFM instance remotely from jumphost, using SSH. |
- For all other Instance component definitions, use the default values provided by OpenStack. For details, see Upload and manage instances on the docs.openstack.org.
Step 2: Add a floating IP
Once you launch your instance in OpenStack, expand the Create Snapshot drop-down ( or press Associate Floating IP if instance is still spawning) next to your instance in the table, and select Associate a Floating IP from the list. Choose an IP address from the list. If none, click + to add one. This allocates the floating extnet IP on the management network. Do this to access the VNFM externally from a browser, using https.
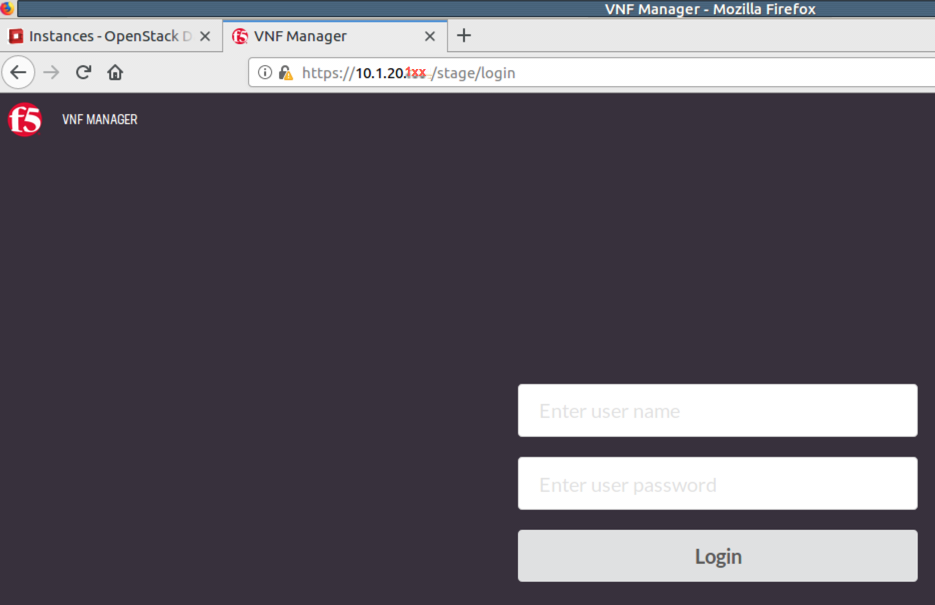
Step 3: Access F5 VNFM UI
To acces your VNFM, point your browser to the public floating 10.1.20.x IP address you created and assigned in the previous steps, using https.
Step 4: Manage secrets
In F5 VNFM UI, click , click  next to each of the
following secrets to edit the values for your project. Doing so enables your blueprint to access these values as needed,
during orchestration, without exposing the plain text values.
next to each of the
following secrets to edit the values for your project. Doing so enables your blueprint to access these values as needed,
during orchestration, without exposing the plain text values.
- Change the following credentials:
| BIG-IP | Notes |
|---|---|
| bigip_admin_password | Set to the desired password for the default BIG-IP admin account. See Credentials |
| bigip_root_password | Set to the desired password for the default BIG-IP root account. See Credentials |
| bigip_username | Set bigip admin user to the desired value. See Credentials |
For more information, see using the secret store.
A special jumphost script vnfm-secrets.sh should be used to update Secret Store
Open jumphost MATE terminal and run the following command:
$sudo ~/Downloads/vnfm-secrets.sh <vnfmanager .40 net IP>
For list of credentials updated by script, see Manage Secrets
Step 5: Define parameters in the inputs.yaml file
The F5 blueprint uses an inputs.yaml file that you edit, adding your system definitions:
- Open inputs_gilan_udf-v3.yaml on the Desktop and change the <changeMe> parameter values according to your network implementation. See the following tables for parameter descriptions that you will define in the inputs.YAML file.
Note
The 2 parameters that need to be changed are: cm_ip, floating_network_id
cm_ip: 10.1.40.x IP address of the VNF Manager instance
floating_network_id:
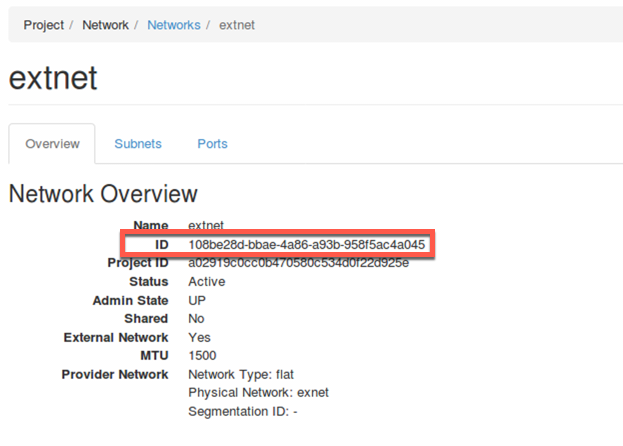
- Save the .yaml file. You will upload this file into VNFM in the next step, deploy F5 Gilan blueprint.